Projects are where your best ideas turn into concrete tasks. Learn how to create and manage small to large projects where tasks are prioritized, scheduled, assigned, and organized in one central place.
Create a project
Let’s start with creating your first project:
- Click the plus icon next to either My Projects or your team workspace.
- Select Add project.
- Give the project a name, and choose its color and preferred layout.
- Click Add to confirm.
Quick tip
When creating a team project, click the Access menu and choose whether to give full access or keep it as a restricted project.
Edit a project
Projects grow and change over time. Whether you need to color code team projects, or your teammate came up with an even better project name, here’s how to make these changes to your project:
Change the project name
- Click the three dots icon next to the project name.
- Select Edit from the menu.
- Enter the new project name.
- Click Save.
Quick tip
If you already have the project open in Todoist, click the project name at the top and make your changes. Then, click Save to confirm.
Change the project color
- Click the three dots icon next to the project name.
- Select Edit.
- Select the color you want for your project from the Color menu.
- Click Save.
Duplicate a project
If you find yourself copying or sharing the same task lists with different people, you can save time and effort by duplicating a project. You can only duplicate one project at a time.
- Click the three dots icon next to the project name.
- Select Duplicate.
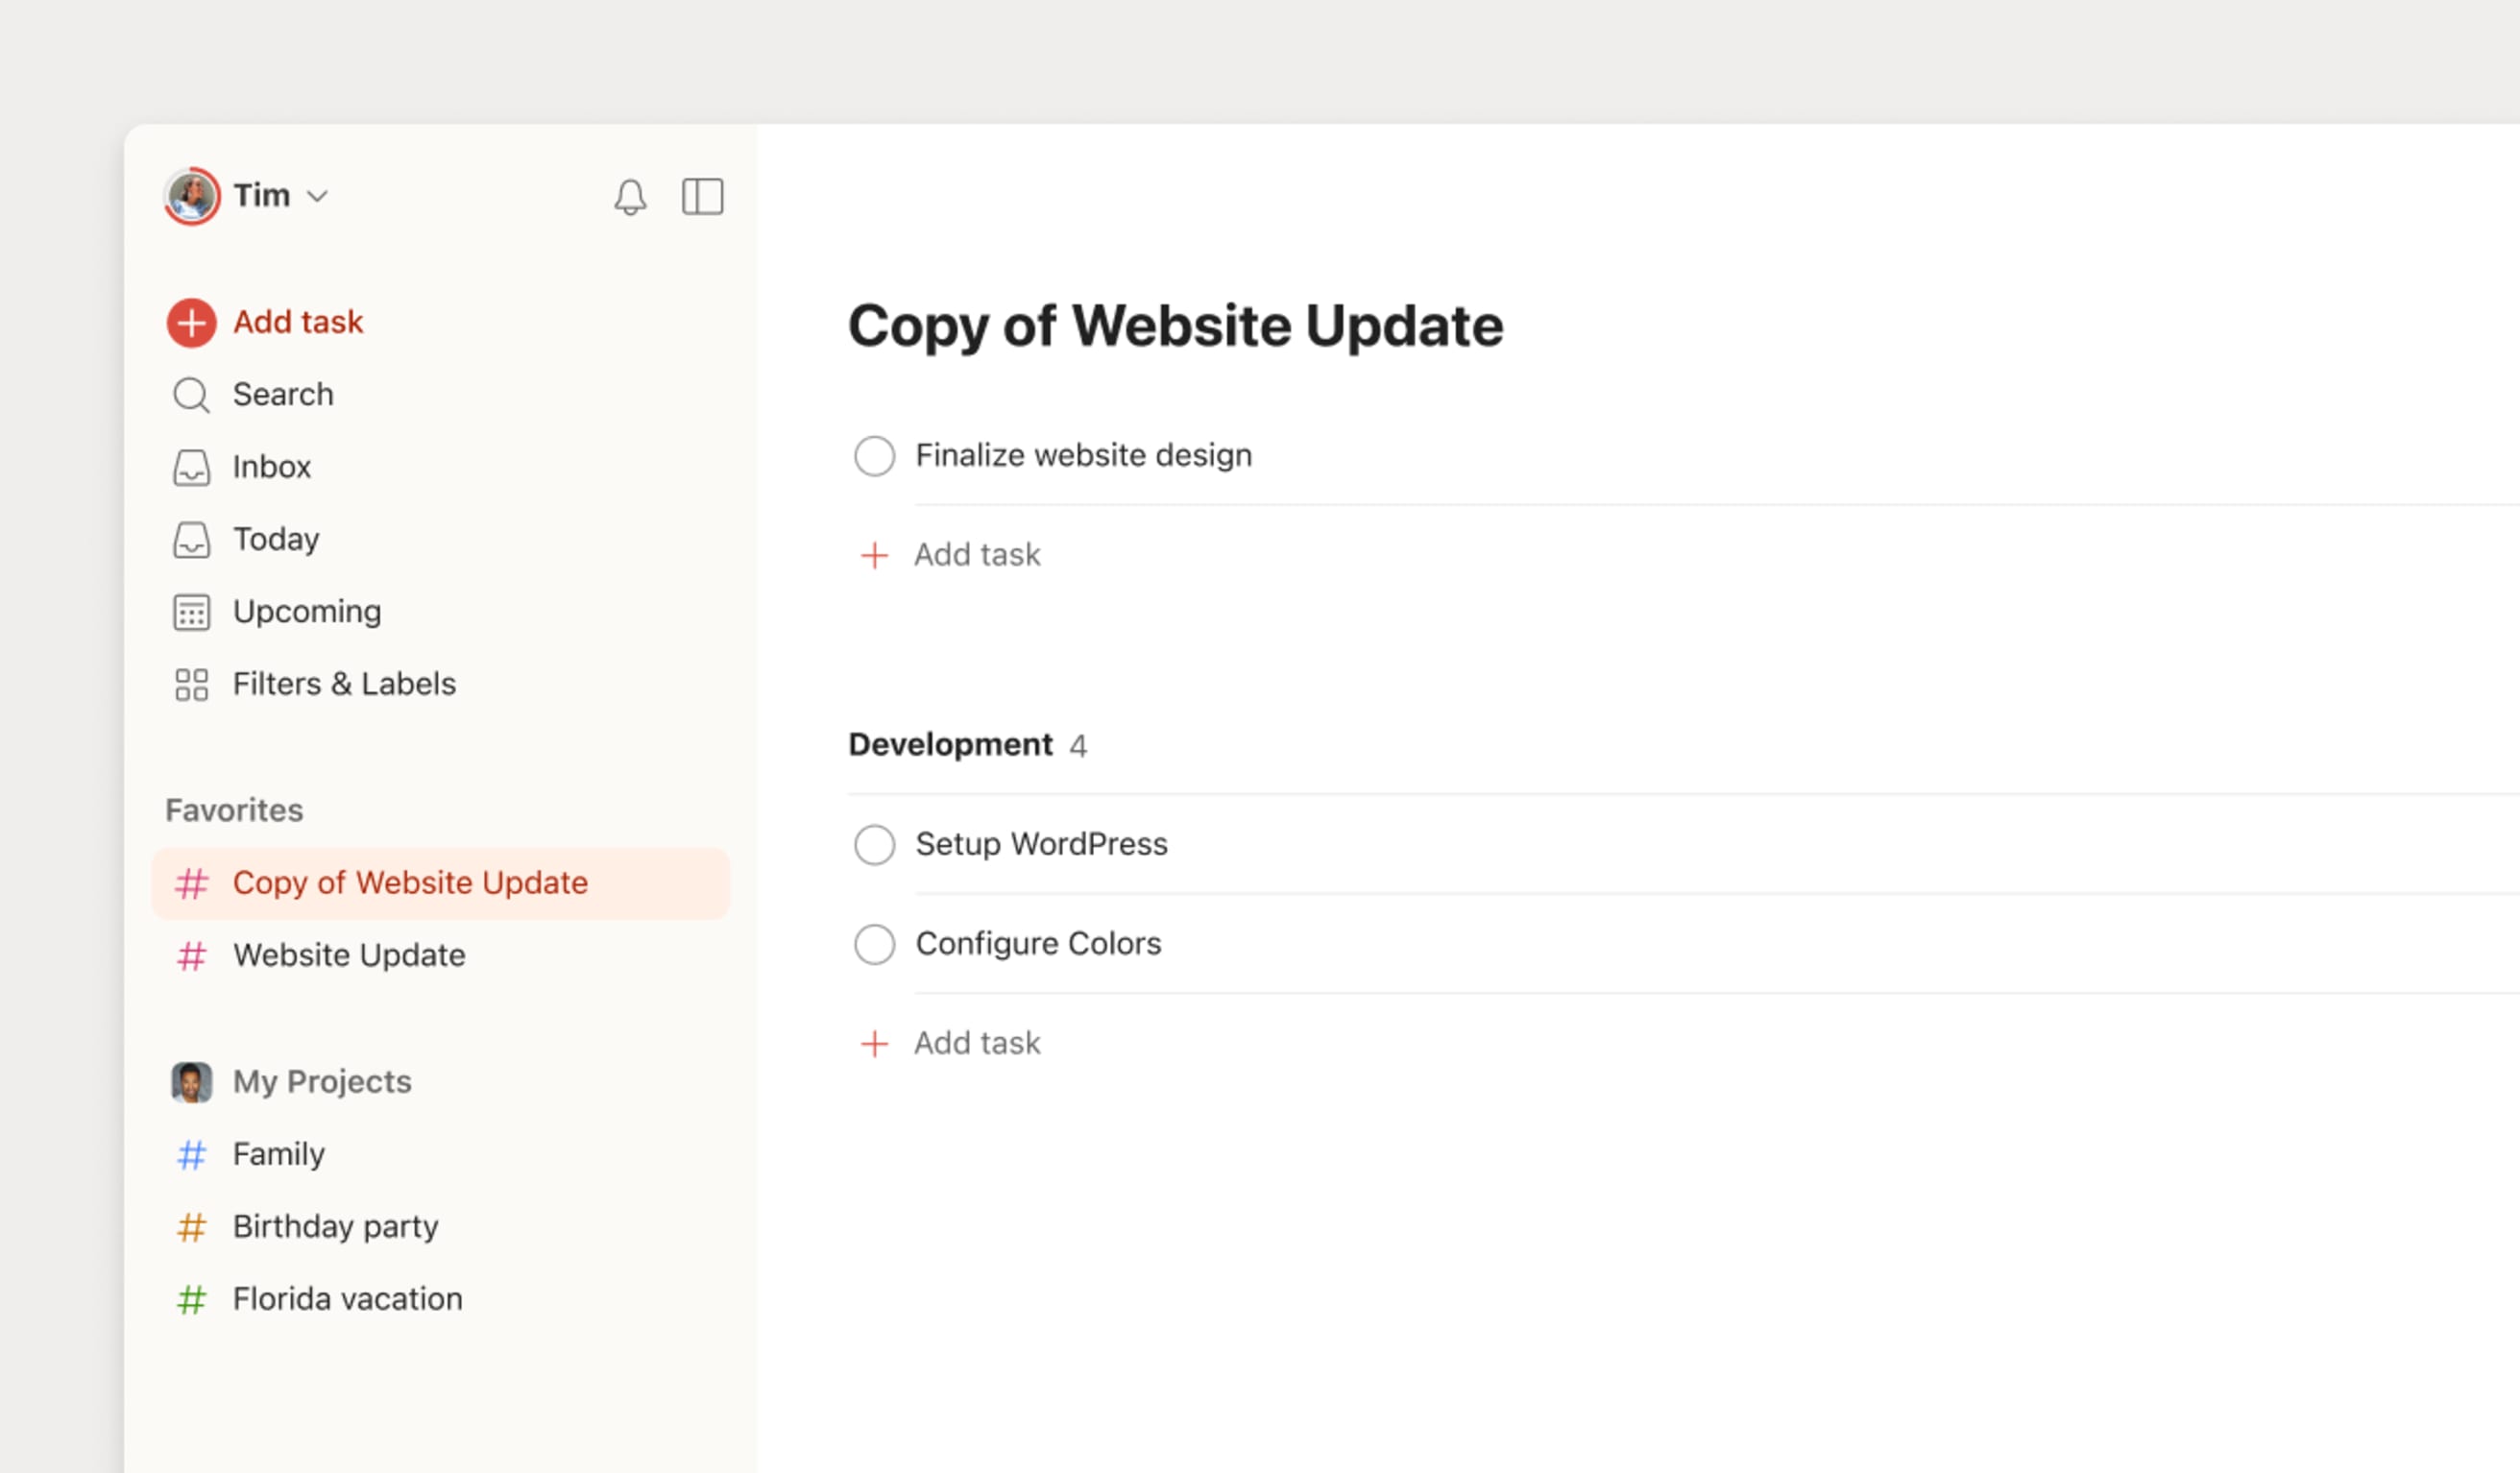
- Open the duplicated project in the sidebar. The project name starts with Copy of.
- Change the project name.
Quick tip
If you're already working in a project, click the three dots icon at the top-right and select Duplicate to duplicate the project.
When you duplicate a project, Todoist quickly creates a copy of any existing project. You'll see the words Copy of added to the project name to help differentiate it from the original project. You can easily change the duplicate project’s name at any time.
Here’s what's included and not included when you duplicate a project:
| INCLUDED | NOT INCLUDED |
|---|---|
| Project name and color | Task reminders |
| Chosen view | Completed tasks and archived sections |
| Chosen sorting, grouping, or filtering options | Project and task comments |
| Active sections, tasks, and sub-tasks (with respective due dates, priorities and labels) | Favorites. Add the project as a favorite. |
| Sharing settings: a duplicated project is private by default. You can share it later. | |
| Sub-projects: you can duplicate them individually the same way as parent projects. |
Best practices for projects
Now that you've created your project, let’s add and organize your tasks. Below are best practices to help you make the most of a project in Todoist:
Quick Add tasks to your project
Load up your new project with every relevant task you can think of. Use Quick Add or press Add task at the bottom of the task list to add tasks directly to your project. It’s a brainstorm, there are no bad ideas!
Stacey · Customer Experience Specialist
Use Quick Add to quickly move the task to a project. Type # in the task name and enter the name of the project.
Organize with sections or folders
Break your project down into manageable chunks with sections. Add tasks or drag existing tasks to their relevant section.
If you’re working on a large team project with hundreds of tasks, break it down into smaller team projects, and use folders to organize them based on your criteria.
Add due dates
As you’re organizing your project, you’ll find there are tasks with tighter deadlines than others.
To make sure you get things done on time, add a due date and due time to each task. These tasks will appear in the Today and Upcoming views, with the option to review them as a list, board, or calendar (available to Pro and Business customers).
Favorite a project
Turn the Todoist sidebar into your personal assistant by adding your most used projects as favorites. Turn on Add to favorites as you’re creating the project, or after identifying which projects you use the most.
Reorder your projects list
In Todoist, drag projects manually to their preferred location in the projects list to change their order.
Note
Team projects are always listed alphabetically, and they can't be rearranged. If reordering your team projects manually is valuable to your workflow, feel free to share your feedback with us!
Create project templates
If you find yourself recreating the same task lists frequently, you can save time and effort by creating a project template. These templates are saved to the My templates section in the Todoist templates gallery, so you can access it any time.
Quick tip
When you import a template to a new project, the project doesn’t sync with the original version. When you make changes to one version, those changes won’t appear in the other.
Archive a project
If you need to shelve a project for later, archive that project to remove it from your projects list with the option to view and restore it later.
- Click the three dots icon beside the project in the sidebar.
- Select Archive from the menu.
- Click Archive to confirm.
Restore an archived project
- Click My Projects or your team workspace.
- Click Active projects. This opens the Project type menu.
- Select Archived projects. You'll see a list of archived projects.
- Find the archived project and click the three dots icon next to its name.
- Select Unarchive.
Delete a project
There may be projects that no longer bring value or align with your goals. Here’s how to delete a project, keeping your projects list nice and tidy:
- Open the project you want to delete in the sidebar.
- Click the three dots icon at the top-right.
- Select Delete.
- Click Delete again to confirm.
Delete a team project
- Open the team project you want to delete in the sidebar.
- Click the three dots icon at the top-right.
- Select Archive.
- Click Archive again to confirm.
- Click your team workspace in the sidebar.
- Click Active projects in the Project type menu.
- Select Archived projects in the same menu. A list of archived projects will appear.
- Find the archived project and click the three dots icon next to its name.
- Select Delete.
- Click Delete again to confirm.
Note
If you’re sharing a project with others, you'll instead see the option to leave it.
Restore a deleted project
If you're a Pro or Business customer, Todoist automatically backs up your data every time you log in to your account. You can store up to 21 backups. If you deleted a project by accident, create a new project and import a backup.
Get started
Ready to start working on your projects? We hope this guide gives you the tools to work on that idea you’ve had brewing for months! If you still feel overwhelmed and don’t know where to start, check out the Todoist template gallery for dozens of curated templates.
If you’re having trouble creating or managing your projects, get in touch with us. We— Melis, Galina, Marco, and any of our other teammates—are more than happy to lend a hand!