Warning
Todoist for Firefox is currently unavailable. We appreciate your understanding and patience as we address the situation. 🙏
If you're looking to optimize the workflow between Todoist and Firefox, this Todoist extension is for you!
Installation
Install the Todoist extension in your browser here.
How to use the extension
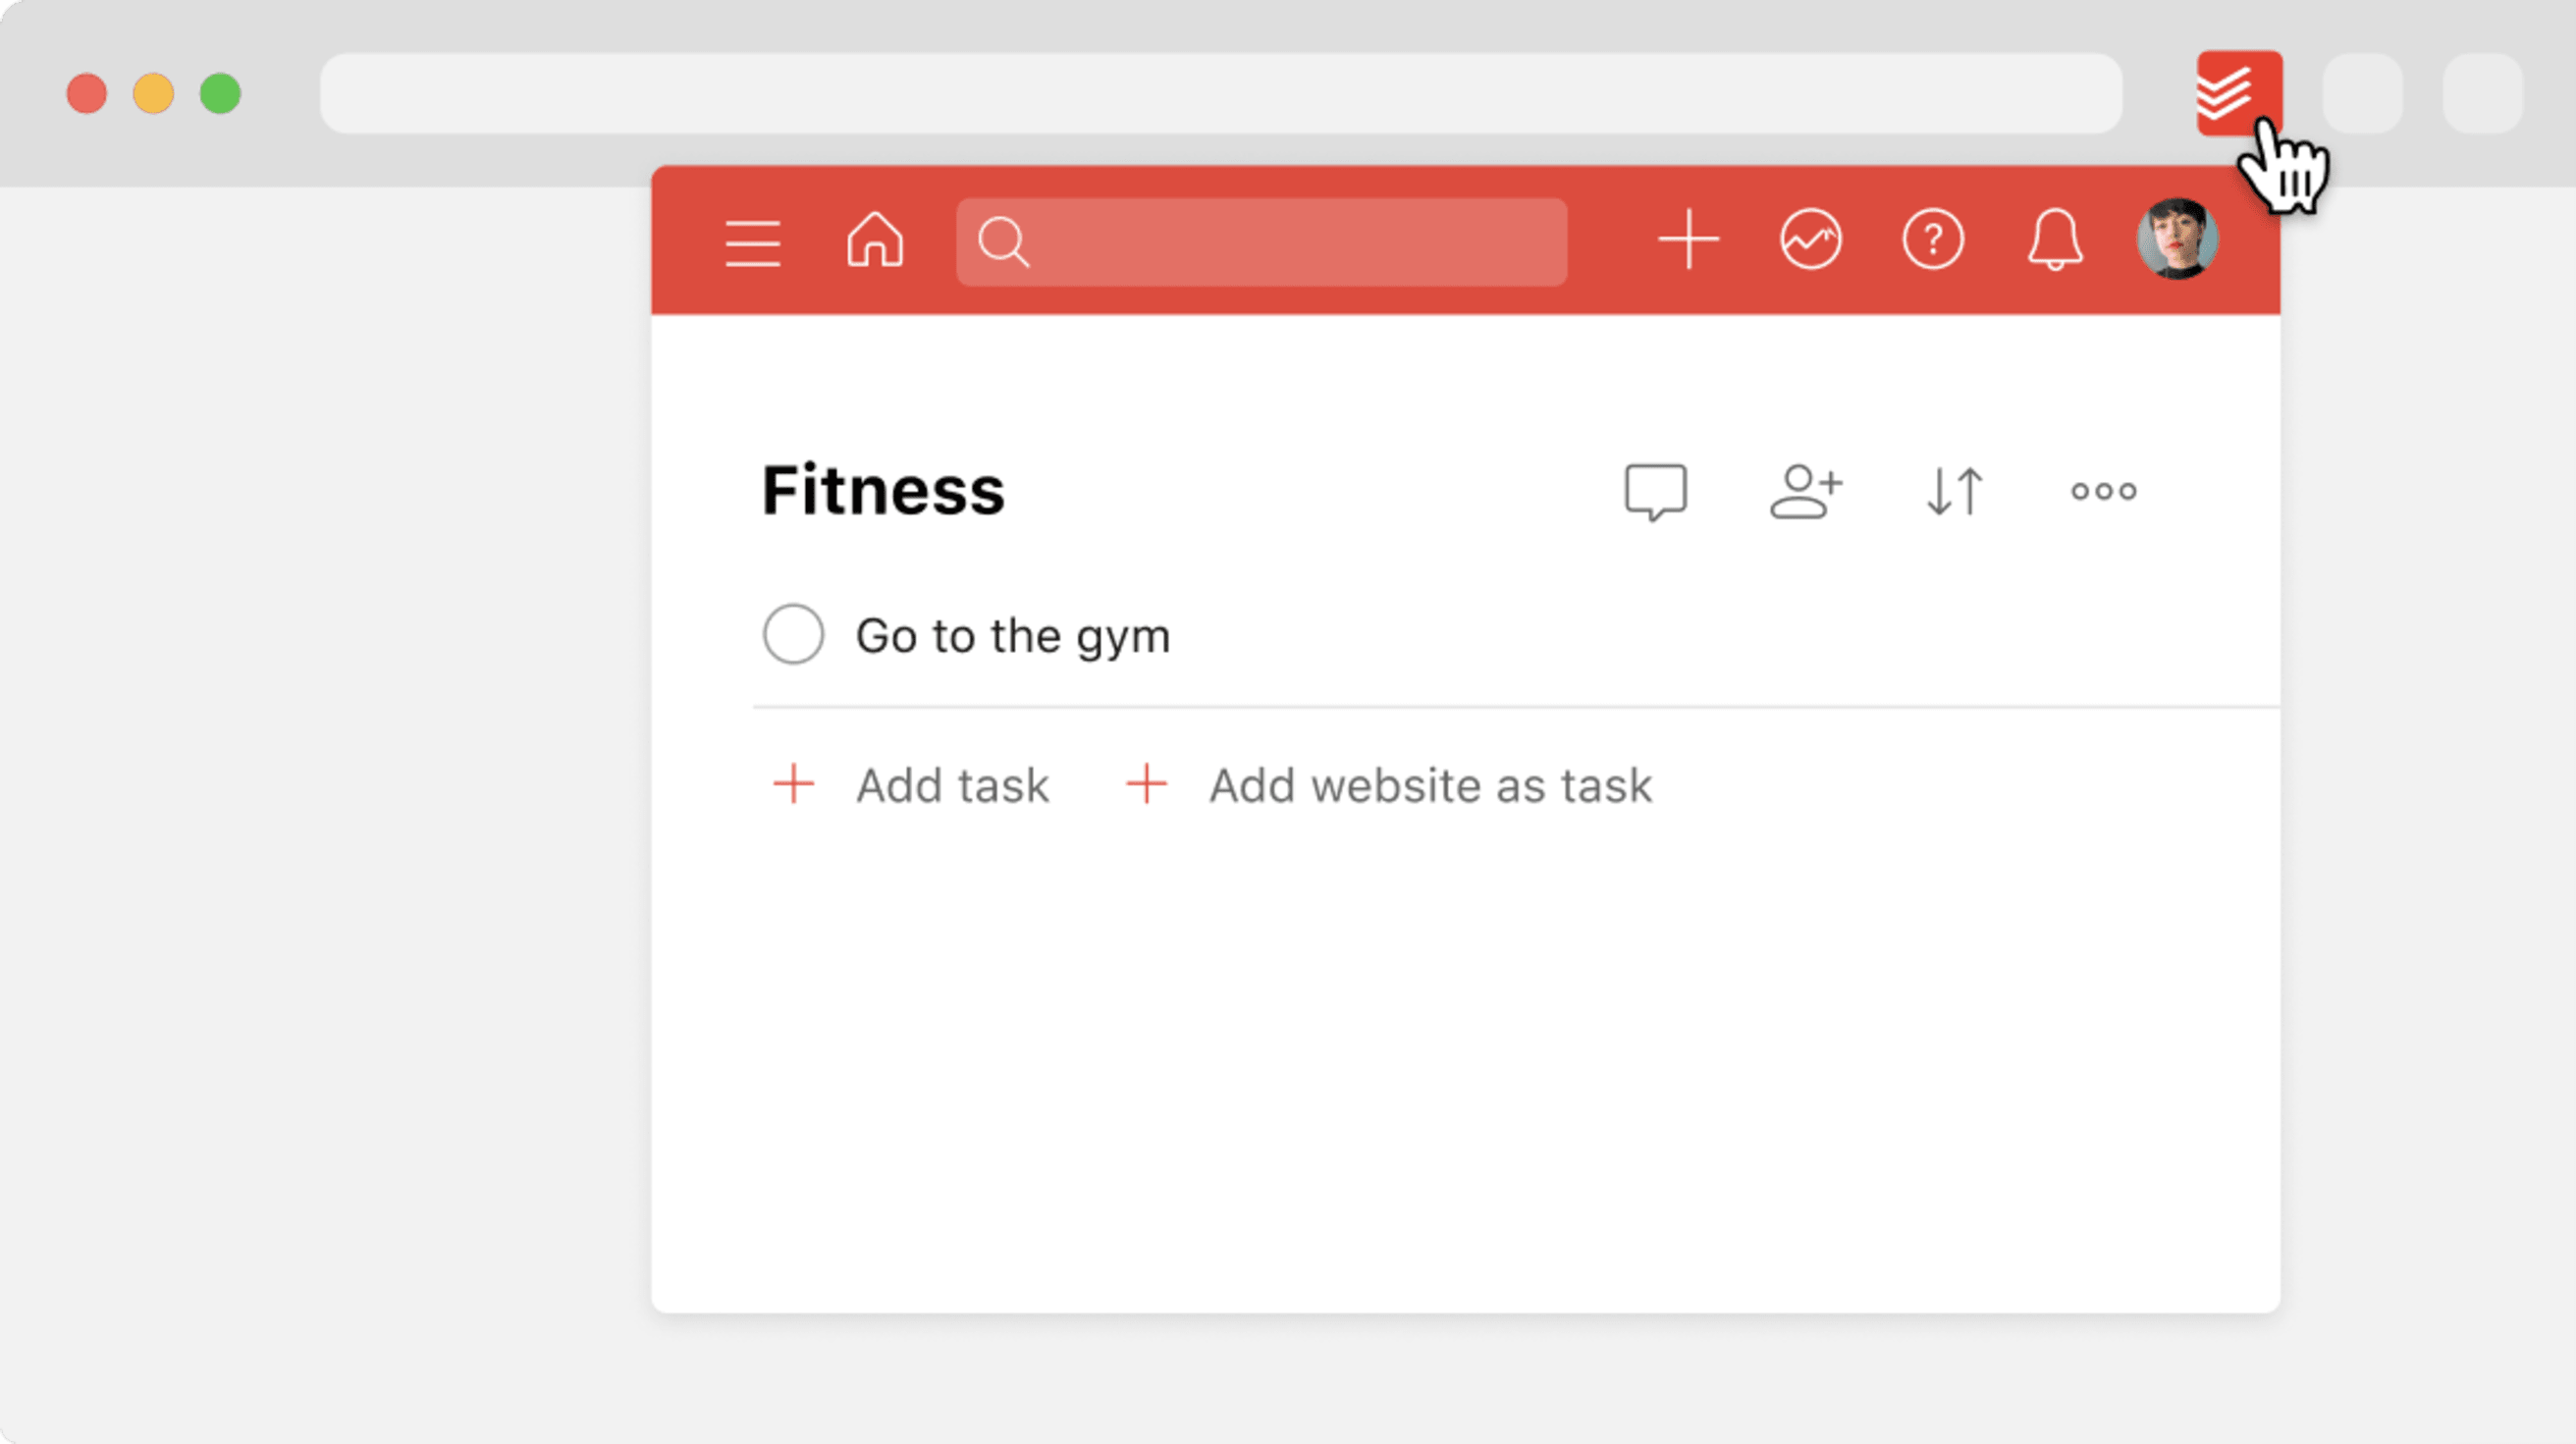
To get a quick look at Todoist from your browser, click the Todoist icon in your extensions bar in the top right. A compact view of Todoist will appear:
The compact view is a great way to save time: You can access any of Todoist’s features without having to leave your current web page.
- Go to the website you’d like to add as a task.
- Right click anywhere on the page and select Add to Todoist.
- You can also select any text on the page, then right click on it and select Add to Todoist. The selected text will then be used as the name for the newly created task.
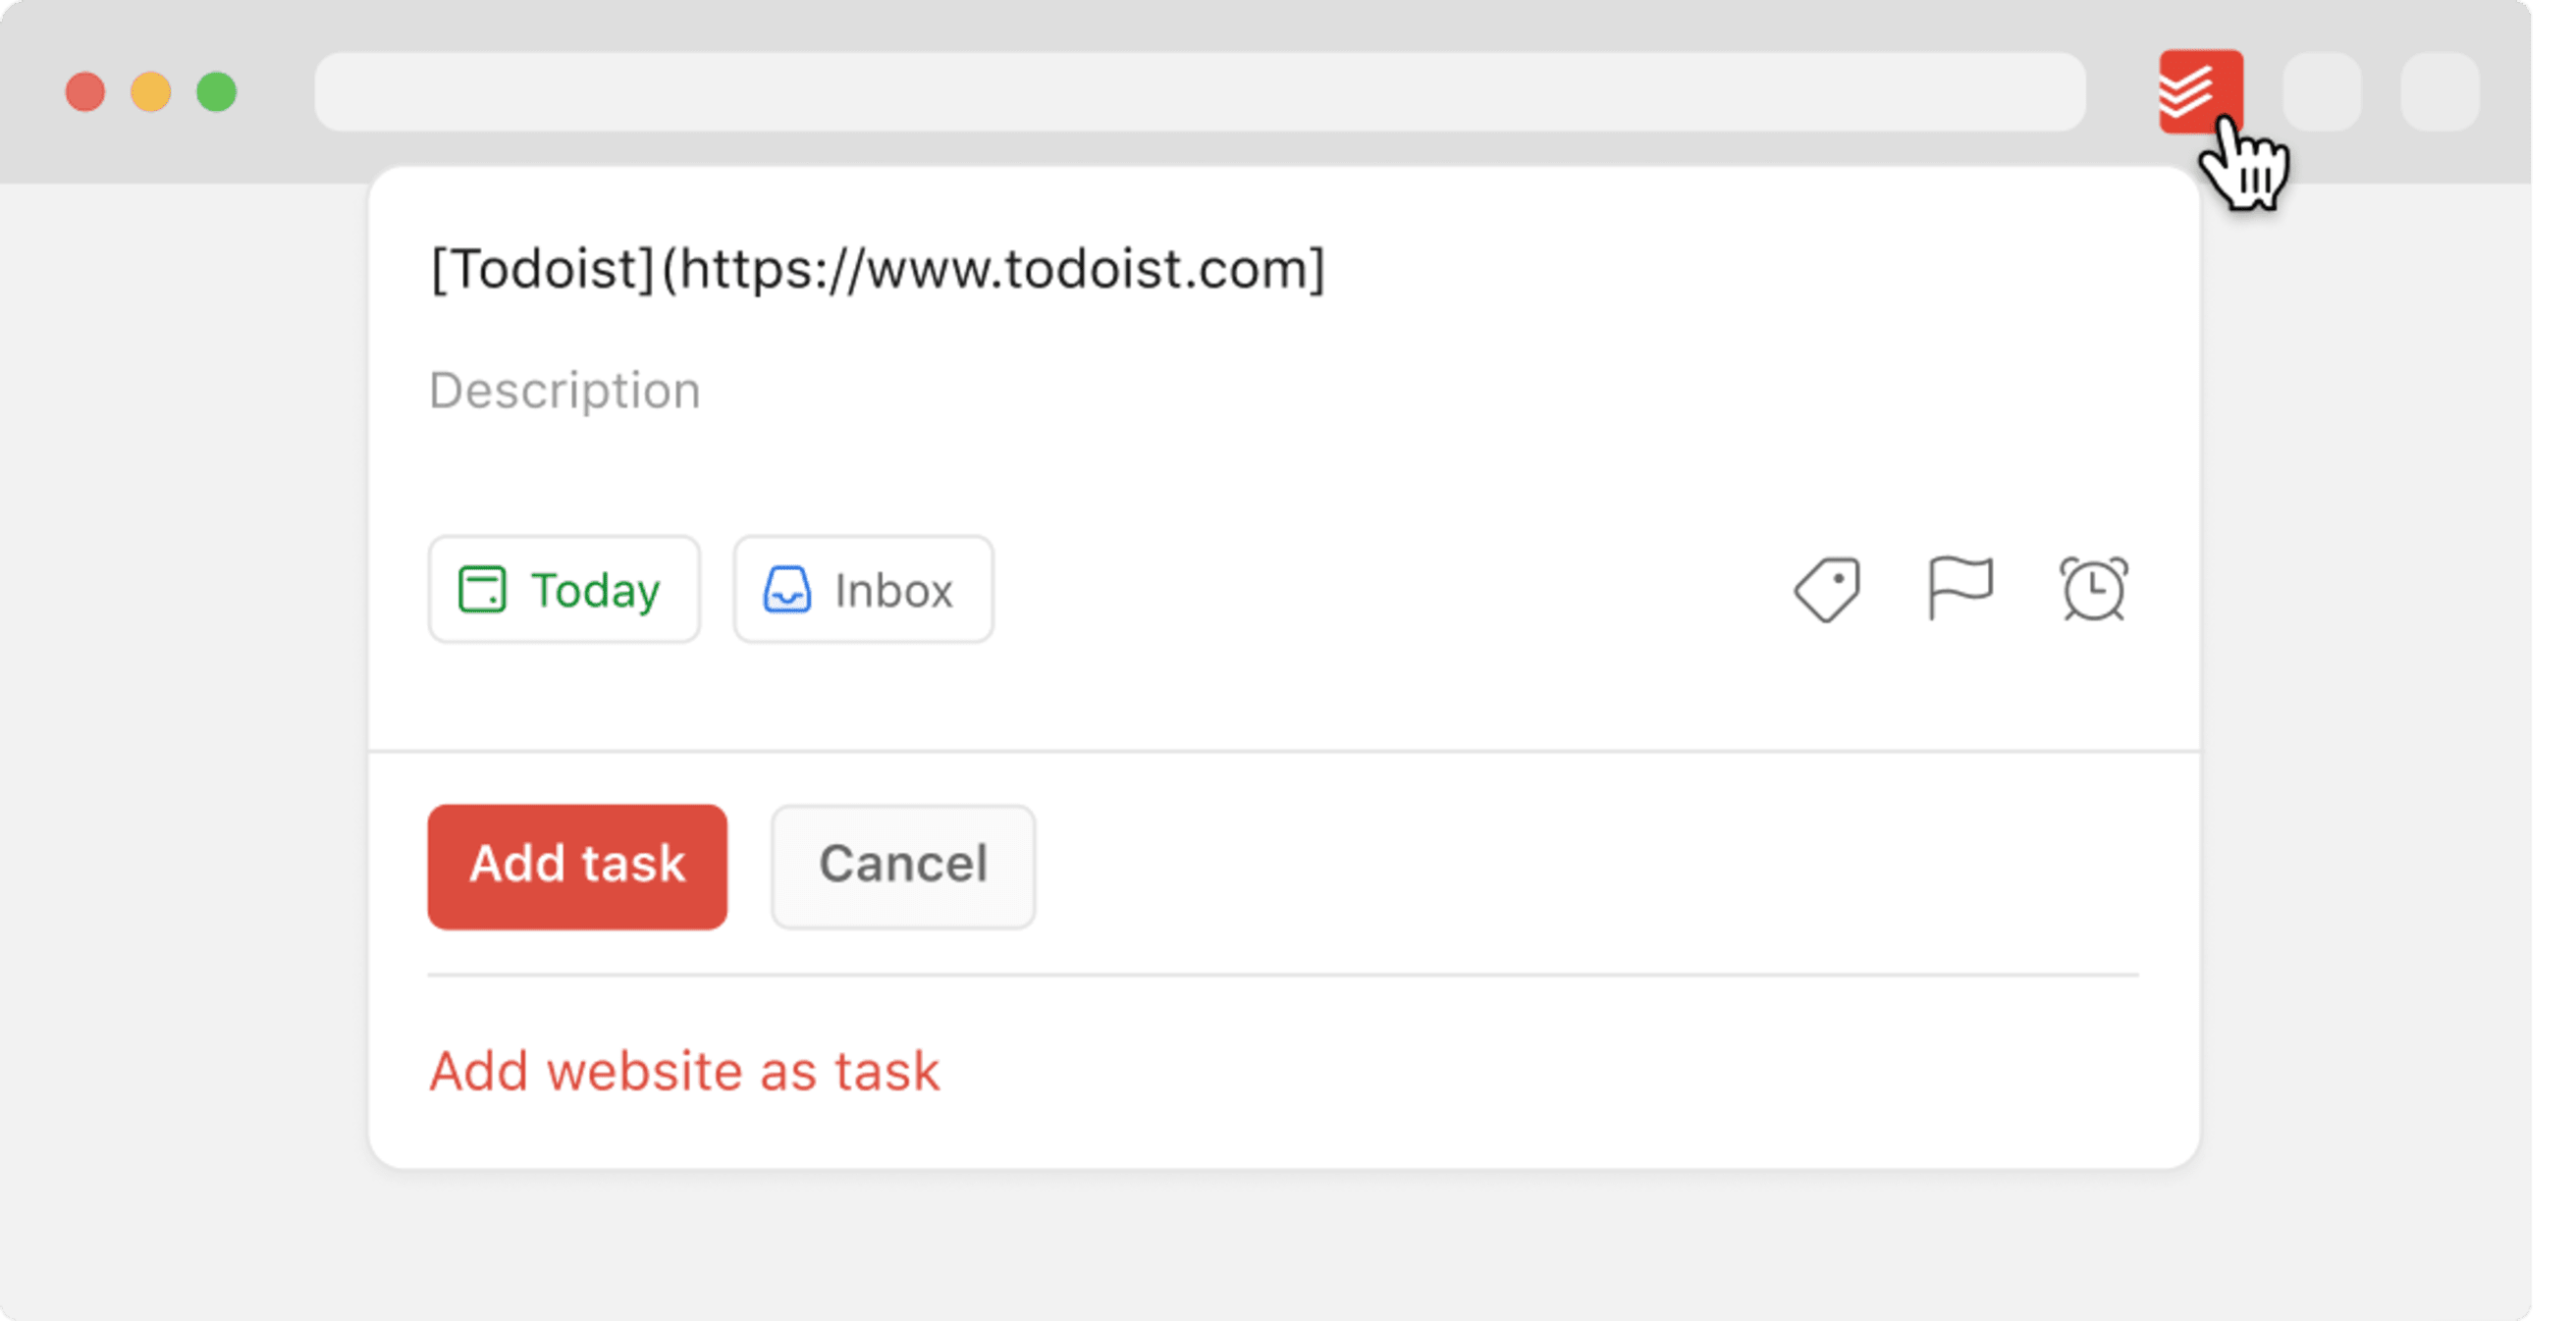
You can also add the website as a task by using quick add:
- Click the Todoist icon in your extensions bar in the top right.
- Click + to open Quick Add.
- Click Add website as task at the bottom to add the page and URL as the task name.
- Click Add task to save the task.
- Go to the website you’d like to add as a task in your Firefox browser.
- Right click anywhere on the page and select Add to Todoist. You can also select any text on the page, then right click on it and select Add to Todoist. The selected text will then be used as the name for the newly created task.
- The Quick Add feature will open in a pop-up window. You can now make edits to your task (such as adding it to a project, adding a due date, label(s), priority level, reminder(s), or comment(s) before saving it).
- Once you're done editing your task, select Add task.
- Open Firefox.
- Right-click the Todoist icon in the top-right corner.
- Select Manage Extension.
- Click the gear icon in the top-right corner.
- Select Manage Extension Shortcuts.
- You can now set a keyboard shortcut for adding a task.
- Open Firefox.
- Right-click the Todoist icon in the top-right corner.
- Select Manage Extension.
- Click the gear icon in the top-left corner.
- Open the tab Preferences.
- Click the checkbox to the left of Set default due date for 'Today'.

